 Looking for the perfect colour? Order samples
 How to buy a kitchen? Read our guide
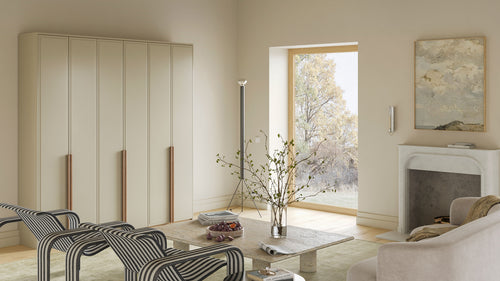 Explore Wardrobe Collection
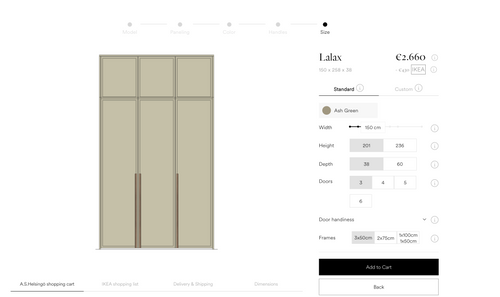 Shop Wardrobe Doors
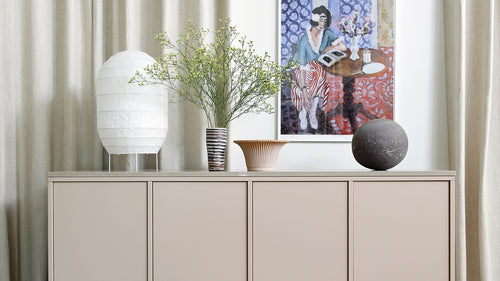 Get inspired – explore sideboards
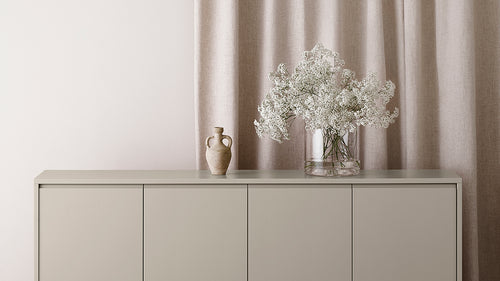 Buy sideboard
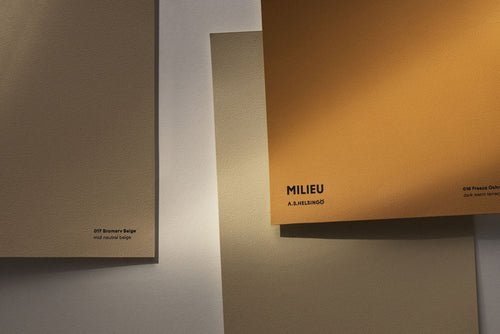 Colour sampling without painting: Adhesive swatches
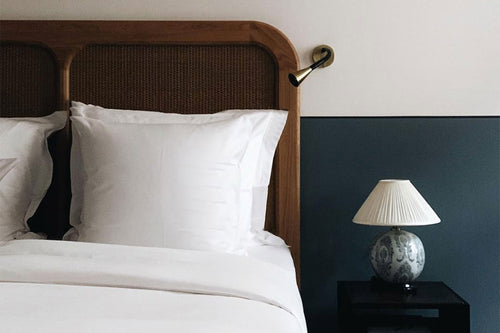 Your life in colour - read our painting guide
4 Tips to Achieve a Neat Paint Edge

1. Mark a Straight Line
A straight paint line can be marked on the wall using a laser level, chalked string, ruler, or stencil. Of these measurement techniques, a laser reflecting a straight line on the wall is the most accurate, but renting or purchasing one can be expensive. The easiest way is to mark the correct height by measuring from the floorboard straight upward at different points on the wall and connecting the marks with a long ruler. If you don't have a ruler, the line can also be marked with a string. All you need is a sturdy string and chalk.
Hold the string against your hand so that it picks up color. Secure the string tightly from one corner of the room to another or ask a friend for assistance. Tap the taut string against the wall - a straight line will be left from the chalked string. If the wall is long, hold the string in the middle and tap both sides separately. Mark the line with a pencil and wipe away the chalk so that the masking tape adheres tightly to the painted surface.
Borders near the ceiling or floor can also be marked with a stencil cut from cardboard. Note that walls and floors may not be perfectly straight, so always assess visually whether the bordered area looks straight.
2. Apply tape
Place the tape along the line you marked with a pencil. Press the tape edge tightly against the wall, following the surface. The tape edge must be tight to prevent paint from seeping underneath. Avoid stretching the tape edge.
3. Paint
Paint the shade first with a brush over the edge of the tape and then with a roller, covering the entire area. Let it dry and paint a second coat.
4. Remove the tape
Remove the tape immediately after the second coat by pulling the tape at a 45-degree angle away from the paint.
Tip: If you're painting a two-tone wall, start by painting the upper part of the wall. This way, you avoid paint splattering down onto the already painted surface. (However, if you have chosen a darker color for the upper part, paint the lower part first because it's harder to cover a dark shade with a light one.) At this stage, you don't need to border the lower part of the surface to be painted; you can paint well below the planned border. Bordering is done after the paint has dried. Allow the paint to dry thoroughly, as masking tape cannot be applied over wet paint.